Virtual staging: plan a bedroom layout
Editorial update:
Start a virtual-staging bedroom layout with an original room photograph, a checked outline and manually supplied furniture dimensions. Record the bed’s full external footprint, its orientation and the doors, windows and storage that must remain accessible. Use the image to discuss an arrangement; use measurements and a separate layout check to assess whether that arrangement could fit.
This Spaceoverlay editorial guide supplies a brief and a fictional arithmetic example. It does not extract dimensions or clearances from a generated image, and it does not promise automatic furniture measurements. The example’s clearances are choices for an invented exercise, not safety, accessibility or building-code thresholds. Any real layout needs checks appropriate to the user, room and intended use.
Record the room before choosing the bed position
Identify the room and the source photograph, then sketch its outline with a consistent orientation. Name the walls or directions so “left of the bed” cannot change meaning between the photographer and reviewer. Record the measured width and depth and the endpoints used. If an alcove, chimney projection or sloping ceiling affects the arrangement, show it rather than forcing the room into a simple rectangle.
Mark each door and window, the direction of door movement and any fixed storage. Record the space needed to open drawers or cupboard doors as a separate question from whether the closed furniture fits. A wardrobe drawn as a rectangle can fit on paper while its doors remain unusable. Where a dimension or opening position is unknown, leave a visible gap in the brief and assign a measurement action.
Supply furniture dimensions manually and identify their source
Use the full external width and depth of the bed frame, including projections relevant to the layout, rather than substituting a mattress label. Obtain dimensions from the actual item or its verified specification and note the source and date. Do the same for bedside tables, wardrobes and other furniture you intend to include. This is information the person preparing the brief supplies; a styled image is not a measurement source.
Separate a required item from an illustrative one. If the exact bed has not been chosen, state the provisional footprint and mark it as an assumption. A later product choice must be checked again against that footprint. Do not let the renderer silently shrink a bed, remove storage or change the room to make a preferred composition appear possible. Record the change as a new option with its own assumptions.
Use the illustration to discuss a route, not measure it
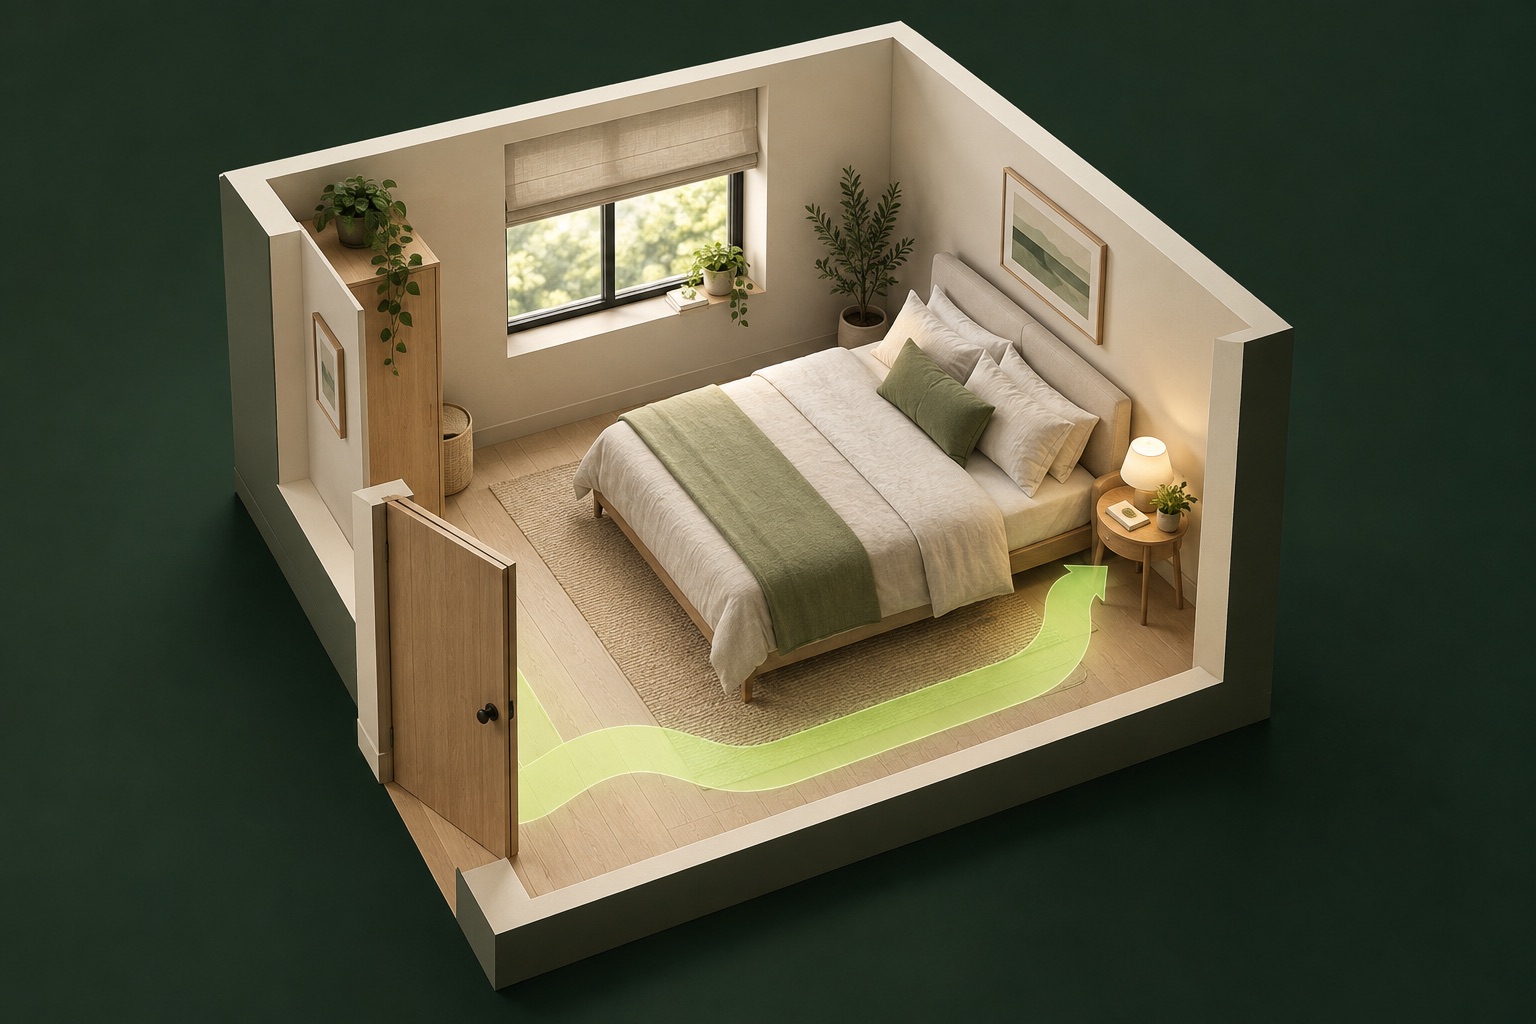
The fictional cutaway below shows a bed, window, storage and an open door, with a conceptual arrow around the foot of the bed. It can help a reviewer ask where someone would move and which object could obstruct that route. The arrow has no measured width, and the image is not a scale drawing or a representation of the numeric example that follows.
For an actual listing, retain the original photograph as evidence of the room and label any generated design separately. NVM’s Dutch guidance emphasizes recognizable AI imagery while keeping actual dimensions, layout and condition leading. NAR’s consumer guide also discusses disclosing material photo alterations. These sources support transparent presentation; they do not certify a furniture arrangement or establish a universal clearance.
 AI-generated illustration
Fictional rectangular example: state the edges
Assume an invented rectangular room is 3.60 m wide and 4.20 m deep. A manually specified bed frame is 1.80 m wide and 2.10 m deep. Place its head against the rear wall and centre its width, with the bed’s depth pointing toward the opposite wall. With no bedside furniture included, each side gap is (3.60 − 1.80) ÷ 2 = 0.90 m. The gap from the bed’s foot to the opposite wall is 4.20 − 2.10 = 2.10 m.
Now add an invented wardrobe along the opposite wall with a closed depth of 0.60 m. In the region directly in front of that wardrobe, the gap from the bed’s foot to its front becomes 4.20 − 2.10 − 0.60 = 1.50 m. This arithmetic concerns rectangular envelopes only. Wardrobe doors, drawers, handles, skirting and the room door’s movement have not been checked, so the result does not establish usable access.
For this exercise only, the fictional user chooses a side-gap target of 0.80 m. If two bedside tables each occupy the full adjacent strip to a depth overlapping the bed and each extend 0.45 m across that strip, the remaining width alongside each table is 0.90 − 0.45 = 0.45 m. That is below this user-selected target, so this option is rejected for the exercise. The target is not a regulation or a recommendation for other people.
| Check | Calculation in metres | Result m | Decision / unresolved issue |
|---|---|---|---|
| Bed only: each side gap | (3.60 − 1.80) ÷ 2 | 0.90 | Above fictional 0.80 target; openings still unchecked |
| Bed foot to opposite wall | 4.20 − 2.10 | 2.10 | Empty envelope only |
| Bed foot to closed wardrobe front | 4.20 − 2.10 − 0.60 | 1.50 | Hold: wardrobe opening movement unknown |
| Remaining strip beside each table | 0.90 − 0.45 | 0.45 | Reject against user-selected 0.80 target |
Compare orientations without moving the architecture
If you rotate the bed, redraw its footprint with width and depth in the new directions and repeat the relevant comparisons. Do not reuse the first orientation’s side-gap numbers. Keep window positions, doors, permanent storage and other fixed features unchanged. A second orientation is not better merely because the generated composition looks balanced.
Ask whether the new position blocks an opening, conflicts with storage use or depends on a missing dimension. Reject an option that contradicts a known fixed feature. Hold an option when the critical information is unknown. If you choose a smaller furniture item, state its new manually supplied dimensions and rerun the layout check. Changing the furniture is a new proposal; changing the actual room in an image would misrepresent the starting point.
Blank bedroom brief
Complete this brief before asking for a visual alternative. Keep dimensions, sources and assumptions next to the design request so a reviewer can see which facts are established. Use your own requirements for access and operation, with appropriate professional advice where the purpose calls for it. A blank clearance field is not permission to invent a comfortable-looking gap.
| Subject | Value / source to enter | Status / next action |
|---|---|---|
| Room and source | Room ID; original photo; date; rights to intended use | Confirm room identity and permission |
| Outline and orientation | Width/depth; wall names; projections; measurement source | Measure unknown geometry |
| Furniture footprints | External bed and storage dimensions; source; chosen orientation | Mark provisional items explicitly |
| Doors, windows and storage | Positions; opening directions; operating envelopes | Verify movement against proposed layout |
| User-selected gaps | Target and reason for this user/task; no assumed universal minimum | Check with the responsible person |
| Decision and handoff | Accept for concept discussion, reject or hold; owner; open questions | Retain source and revision |
Review the generated result against the brief
Compare the image with the original room photograph and the dimension record. Check that openings remain in place, important fixed features remain visible and the illustrated furniture arrangement matches the requested orientation. If the bed looks smaller than the specified footprint, do not treat that appearance as a newly discovered solution. Flag the mismatch and revise the illustration or the proposal.
A successful visual review still does not prove fit. The illustration can communicate a concept while the physical check remains on hold for the door swing or wardrobe opening. Keep those two states separate in the handoff: “concept image reviewed” and “layout dimensions verified” are different claims. Retain a list of rejected or unresolved options so the next person does not accidentally reuse one as the final arrangement.
Keep room evidence and publication decisions separate
Spaceoverlay room scans save model images, with a plan available after at least two walls are captured, not room photographs. Arrange original property photography separately and do not assume that this manual layout brief describes an automatic measurement or photo-import feature. Use the linked floor-plan guide for the room record and the staging quality guide for a later image comparison.
Before publishing a staged bedroom, retain the original image, the design label and the record of remaining limitations. Check the destination channel and applicable local requirements for the actual use. This guide offers no assurance about safety, accessibility, compliance or buyer outcomes. Its useful result is a traceable bedroom proposal with visible assumptions and specific reasons to accept, reject or hold further work.
Sources
- NVM: realistic and recognizable AI property imagery — checked
- NAR consumer guide: staging and material photo alterations — checked
- OpenStax: rectangular geometry and units — checked